Schedule a Message
Schedule a Message is available on the Direct Health Web App (not on the mobile app). You are able to schedule a message at the end of a consultation, or anytime from your inbox. Use Schedule a Message for:
- Appointment reminders
- Curbside check-in instructions
- Treatment follow-ups
- Increasing patient engagement by regularly touching base
In this article:
- Schedule a message at the end of a consultation
- Schedule a message at any time
- Edit or delete a scheduled message
- Other notes
At the end of a consultation:
- Log into the Direct Health Web App.
- When you end a consultation, you have the option to add consult notes, CPT/ICD 10 codes, and then to schedule a message.
- Once you are at the “Schedule a Message” screen, choose the time and date when you want the message to be sent.
- The “Questions” option contains some default messages you can send or use as a start.
- The “Actions” option contains default text for follow up actions, such as “Please message me on Direct Health if your symptoms aren’t improving. If you don’t want to use any of the pre-populated questions, you are able to type a custom message into the text box.
- Once you have selected all of the options for your message, select “Save” to schedule your message.
- Next, you will see a summary of the actions to review. Select “Done” once you have reviewed.
- When your scheduled message is sent, you will receive a notification in your inbox.
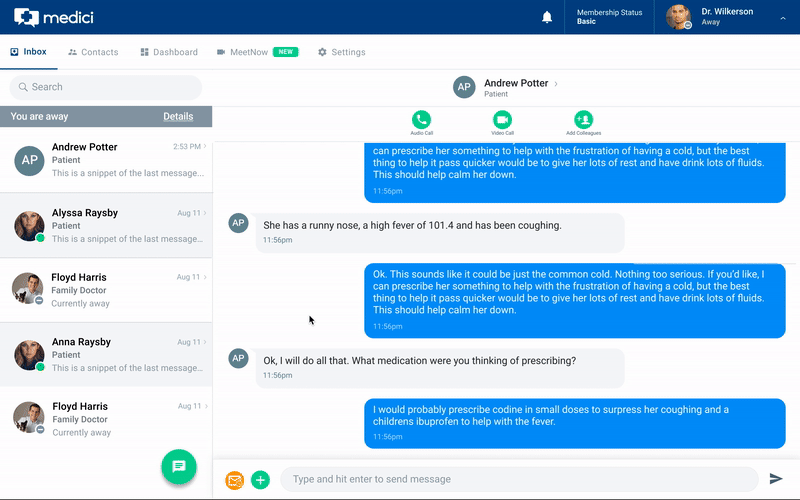
From your inbox:
- Log into the Direct Health Web App.
- Open the inbox and select the conversation where you want to schedule a message.
- Select the schedule a message icon (this is an orange circle with an envelope and a clock on it, to the left of where you type your message).

- Once you are at the “Schedule a Message” screen, choose the time and date when you want the message to be sent.
- The “Questions” option contains some default messages you can send or use as a start.
- The “Actions” option contains default text for follow up actions, such as “Please message me on Direct Health if your symptoms aren’t improving. If you don’t want to use any of the pre-populated questions, you are able to type a custom message into the text box.
- Once you have selected all of the options for your message, select “Save” to schedule your message.
- Next, you will see a summary of the actions to review. Select “Done” once you have reviewed.
- When your scheduled message is sent, you will receive a notification in your inbox.
Edit or delete a scheduled message:
- Only the person that created the scheduled message can view or edit the scheduled message.
- In your inbox, open the chat with the patient that you have scheduled a message for by selecting the orange icon (if there is a scheduled message, you will see a red dot on this icon).
- From the “Edit Scheduled Message” screen, you can update your message content, time the message will be sent, or delete the scheduled message.
Please note:
- This feature is only available on the web app, not the mobile app (on your phone).
- Currently, there can only be one scheduled message per patient at a time.
- A scheduled message can only be edited by the user that scheduled it.
- Patients do not see a scheduled message until it is sent. Once the message is sent, the patient will not see that it was a pre-scheduled message.
Articles in this section
Features
- Adjusting Your Consult Rate
- Collaborating with Colleagues
- Completing Your Profile
- Doctor Videos
- Ending a Consult
- Entering ePrescribing Credentials
- ePrescribing Medication
- Exporting a Consult
- How Consults Work
- Importing Your Patients
- Schedule a Message
- Setting Your Availability & Away Message
- Setting Your Response Time
- Sharing and Uploading Files
- Using Announce
- Using Chat Translate
- Your Waiting Room
